
1
Open Create a Design
Click Create in RenderDuck to open the design-size dialog. This is where you choose whether the new project is for Play Store, App Store, Social Media, Printables, or a custom canvas.
Start from RenderDuck’s Create a design dialog, choose Play Store, and select the asset you want to create. For a normal phone listing, choose Phone screenshot. You can also start directly with tablet screenshots, Chromebook graphics, Android XR, a Feature graphic, or an App icon when your project needs them.
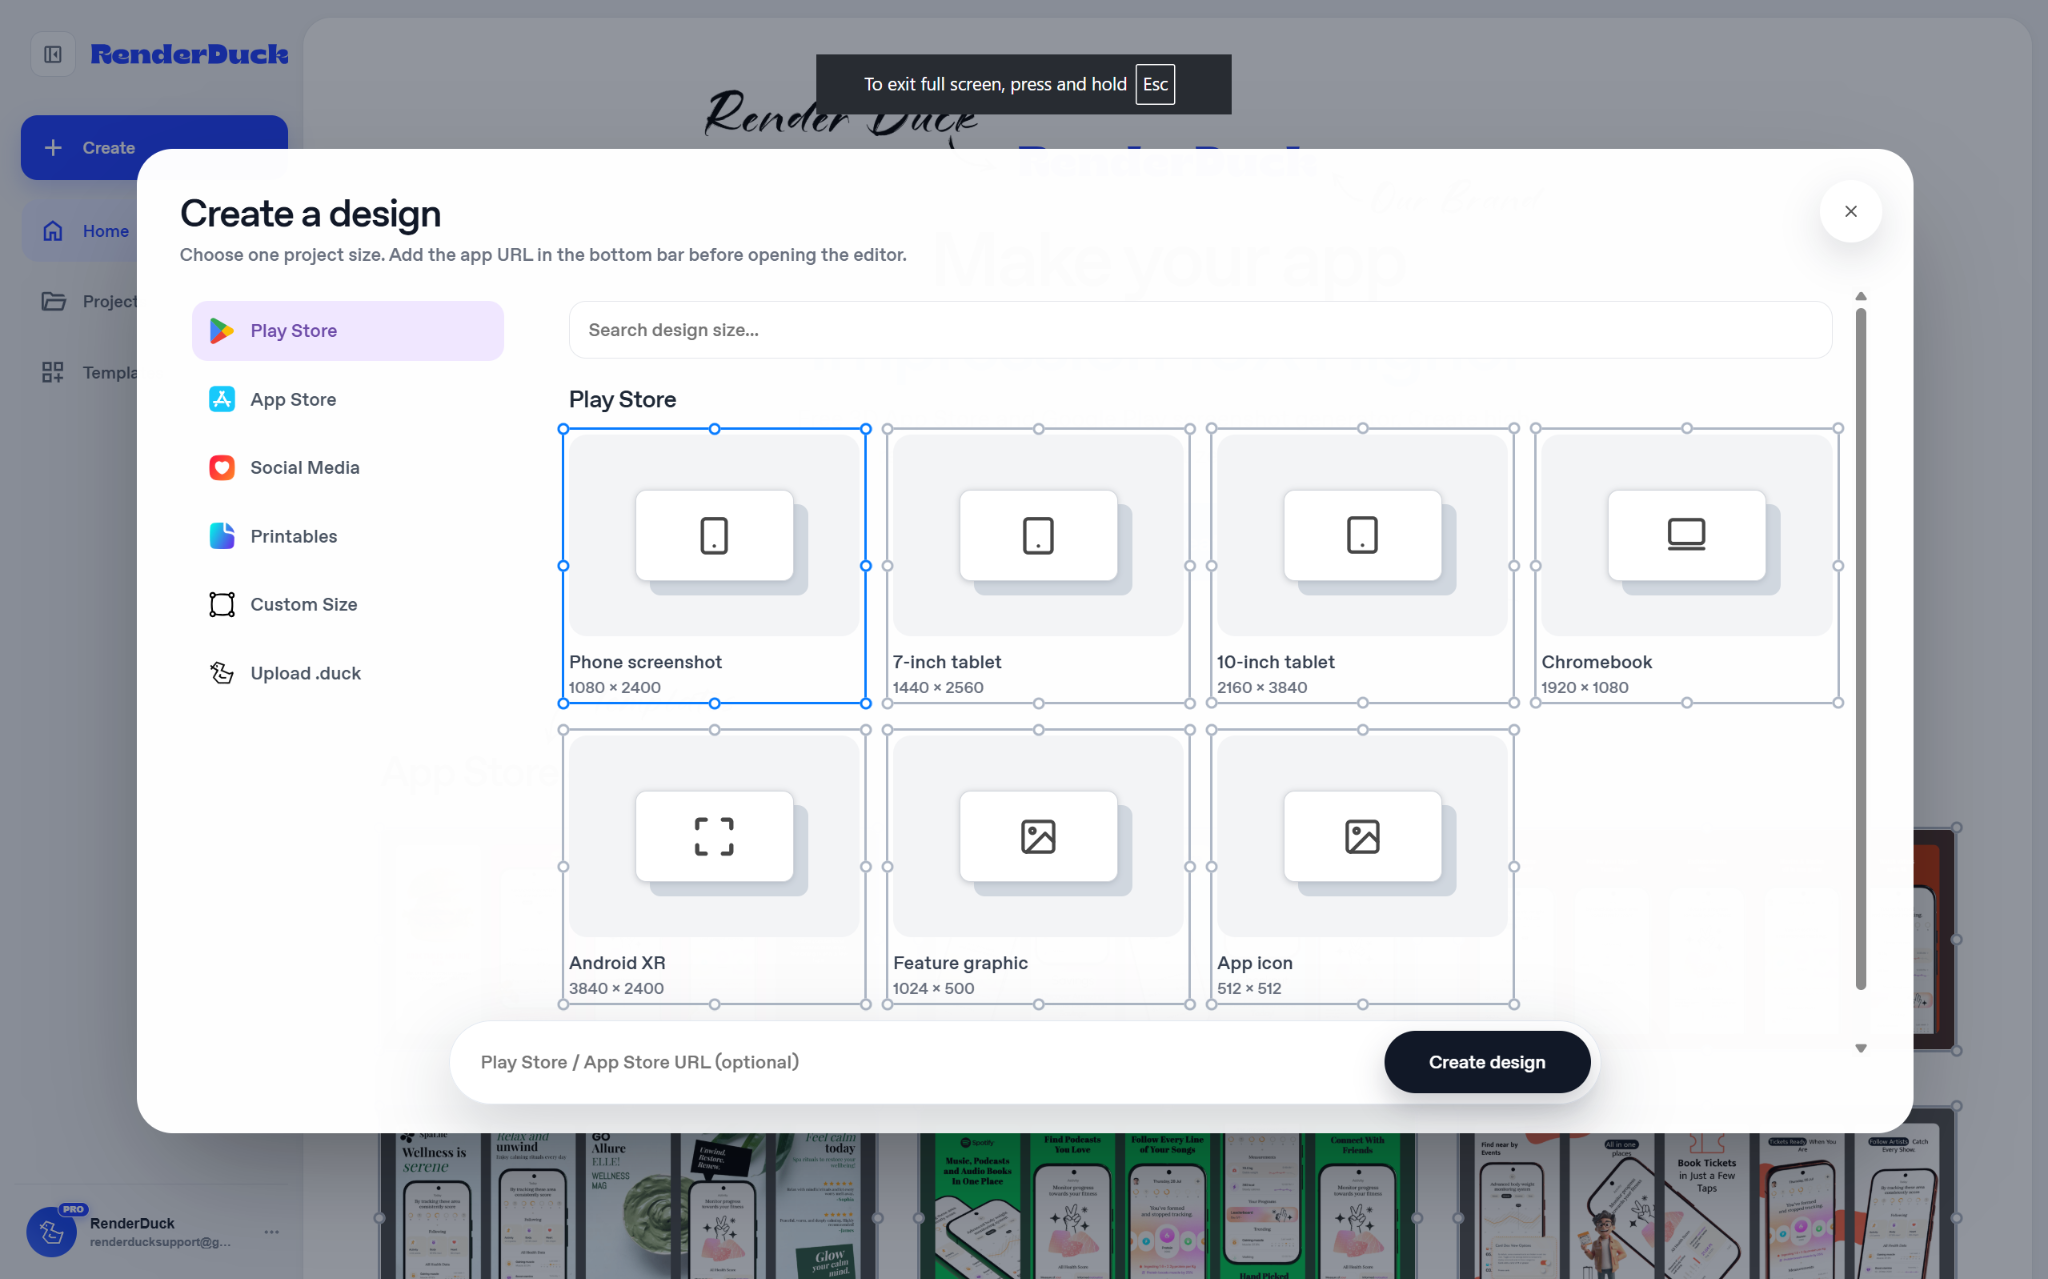
The project selector helps you start with the correct type of Google Play asset before you enter the editor.
Click Create in RenderDuck to open the design-size dialog. This is where you choose whether the new project is for Play Store, App Store, Social Media, Printables, or a custom canvas.
Choose Play Store from the left-side category list. RenderDuck then shows the Play Store-specific project choices available for your app marketing.
For a normal mobile app screenshot project, select Phone screenshot. This opens the project using the phone screenshot canvas shown in the dialog.
If your project is not a standard phone screenshot, you can instead choose another Play Store option shown in RenderDuck, including 7-inch tablet, 10-inch tablet, Chromebook, Android XR, Feature graphic, or App icon.
After selecting the project type, click Create design. RenderDuck opens the editor with the selected canvas so you can begin building the actual Google Play visual.
Upload the real app interface images you want to feature. Then arrange them inside the design and add your feature headline, supporting text, background, colors and device presentation.
Add multiple pages when your listing needs a full screenshot set. Keep the visual style consistent while using each page to show a different feature, workflow or benefit.
Check the full set for text spacing, screenshot alignment and visual consistency. Then use RenderDuck’s export workflow to download the pages you want to use in your Google Play marketing.
You do not have to begin every project as a phone screenshot. If your next task is a Feature graphic, tablet screenshot or app icon, choose that asset directly from the Play Store category and start with the matching canvas.
The Create a design dialog groups the Play Store-related project types in one place so you can start each asset with the correct workflow.
Use this for your standard mobile app screenshot pages and multi-screen feature presentation.
Start a tablet-focused project when you want to prepare a screenshot layout specifically for a smaller tablet canvas.
Use the larger tablet project when your app presentation needs a 10-inch tablet-oriented canvas.
Create a wider Google Play visual when your project is intended for Chromebook presentation.
Choose the Android XR option when your project needs the XR-specific canvas shown in RenderDuck.
Use the Feature graphic project when you want to create the wider promotional asset shown in the Play Store category.
Start with the App icon canvas when you want to work on the store icon instead of a screenshot page.
After choosing the correct Play Store project type, use the RenderDuck editor to build a consistent visual story around the real app interface.
If your goal is a normal mobile screenshot sequence, the Phone screenshot project is the simplest starting point.
When you need the wider promotional graphic, select Feature graphic directly instead of trying to adapt a phone screenshot canvas.
Use the tablet project type when the design should be composed specifically for a tablet screen rather than simply stretching a phone layout.
Open Create a design, choose Play Store, then select Phone screenshot or another Play Store project type.
Yes. The Play Store category shown in RenderDuck includes a dedicated Feature graphic option.
Yes. The Create a design dialog includes separate 7-inch tablet and 10-inch tablet project choices.
Yes. Chromebook is shown as one of the available Play Store project types in the Create a design dialog.
Yes. App icon appears alongside the other Play Store asset options, so you can create that project directly.
Click Create design to open the editor. From there, add your real app screenshots and customize the design before exporting.
Choose Play Store, select the asset type you need, open the editor and build a complete app-marketing design around your real product screenshots.
Start Creating